Unleash Your Inner Artist: Mastering The Art Of Horse Drawing
Have you ever gazed upon a majestic horse, captivated by its strength, beauty, and grace, and wished you could capture that essence on paper? For many, the idea of horse drawing can feel daunting, their complex anatomy and fluid movements seeming almost impossible to replicate. Yet, with the right guidance and a step-by-step approach, transforming your fascination into a beautiful drawing is not just possible, but incredibly rewarding. This comprehensive guide is designed to demystify the process, offering clear, actionable steps that will empower beginners and seasoned artists alike to confidently sketch, outline, and bring to life stunning equine figures.
From the subtle curves of their powerful muscles to the expressive details of their eyes, learning how to draw a horse is a journey that blends observation with technique. Whether you dream of a pretty cartoon horse or pony drawing for beginners, or aspire to create a realistic horse drawing that breathes life onto the page, this article will walk you through the fundamentals. We'll explore everything from basic shapes and proportions to advanced shading techniques, ensuring you have the tools and knowledge to embark on your artistic adventure.
Table of Contents
- The Enduring Allure of Horse Drawing
- Why Horses Are So Challenging (Yet Rewarding) to Draw
- Getting Started: Essential Tools for Your Horse Drawing Journey
- The Step-by-Step Approach to Drawing a Horse
- Mastering Movement: Drawing Standing, Running, and Rearing Horses
- Adding Depth: Shading and Texturing Your Horse Drawing
- A Glimpse into History: Horses in Art Through the Ages
- Beyond the Basics: Continuing Your Horse Drawing Journey
The Enduring Allure of Horse Drawing
There's an undeniable magic about horses that has captivated humanity for millennia. Their raw power, elegant movements, and profound connection with humans make them a timeless subject for artists. From ancient cave paintings to modern digital art, the horse has consistently appeared as a symbol of freedom, strength, and beauty. This deep-seated fascination often translates into a desire to recreate their form on paper. For many, like myself, a lifelong fascination with horses began at a young age. Their strength, beauty, and grace always captivated me, leading to countless hours spent observing them, both in real life and in images. This intrinsic connection makes horse drawing not just an artistic exercise, but often a deeply personal and expressive endeavor. It's about more than just lines and shapes; it's about capturing a spirit.Why Horses Are So Challenging (Yet Rewarding) to Draw
Despite their allure, drawing them felt daunting because they seemed so complex. This is a common sentiment. Unlike simpler subjects, horses possess a unique blend of muscularity, skeletal structure, and fluid motion that can be tricky to translate onto a two-dimensional surface. The subtle curves from all those amazing muscles, the intricate bone structure that dictates their posture, and the dynamic way they move all contribute to this complexity. Many beginners find themselves struggling to get the proportions right or to convey the animal's inherent grace. However, this very challenge is what makes mastering horse drawing so incredibly rewarding. Overcoming these hurdles builds confidence and significantly hones your observational and technical drawing skills.Understanding the Horse's Unique Anatomy
The secret to a successful horse drawing lies in understanding its underlying anatomy. You don't need to be a veterinarian, but a basic grasp of their skeletal and muscular systems will dramatically improve your accuracy and realism. Horse bodies are made of lots and lots of subtle curves from all those amazing muscles, which dictate their form and movement. Knowing where the major muscle groups lie, how the joints articulate, and the general proportions of the head, neck, body, and legs is fundamental. For instance, the theory and explanation of how to draw horses are awesome when they break down these anatomical concepts into understandable segments. This foundational knowledge allows you to draw a realistic horse without relying solely on a reference image, using simple shapes and proportions as your guide. It's about building the horse from the inside out, rather than just copying an outline.Getting Started: Essential Tools for Your Horse Drawing Journey
Before you dive into the steps, let's talk about the simple tools you'll need. You don't require an elaborate art studio to begin your horse drawing adventure. A few basic items will suffice: * **Pencils:** A range of graphite pencils (e.g., HB for sketching, 2B-4B for shading, 6B-8B for darker tones) will give you versatility. * **Paper:** While any paper works, a slightly rougher texture, often meant for charcoal, works good for pencil and seems to accept subsequent layers of graphite without burnishing. This allows for better layering and blending. * **Eraser:** A kneaded eraser is excellent for lifting graphite without damaging the paper, and a regular plastic eraser for sharper clean-ups. * **Blender (Optional):** A blending stump or tortillon can help smooth out shading, though your finger or a tissue can also work in a pinch. * **Reference Images:** Especially when starting, having good reference photos of horses in various poses (standing, running, rearing) is invaluable. While you can learn how to draw a realistic horse without any reference, using simple shapes and proportions, a reference helps with specific details and capturing different poses.The Step-by-Step Approach to Drawing a Horse
This how to draw a realistic horse lesson is designed as an easy, step by step art tutorial. We'll show you how to draw a horse in 8 easy steps, progressively building upon each previous step until you get to the final rendering of the horse. This is a fairly extensive tutorial that provides some general basic guidelines and tips for drawing a horse. If you find the tutorial to be too difficult, you can practice drawing individual parts of the horse to make it a little easier (only the head, for example).Laying the Foundation: Basic Shapes and Proportions
The journey of a thousand drawings begins with a single shape. I remember when I was young, I decided to face my fears of drawing horses. I started with simple shapes, focusing on getting the basic outline right. This is the core principle: simplify the complex form of a horse into basic geometric shapes like circles, ovals, and rectangles. 1. **Start with the Body:** Begin by sketching two main ovals for the horse's body – one for the chest/shoulder area and one for the hindquarters. These should be roughly the same size and slightly overlapping. 2. **Add the Head and Neck:** Begin the easy realistic horse outline by sketching the horse's head. Draw a curved line and double it back on itself at the end to form the nose. For the neck, draw a long, curved line extending from the top oval (the chest). This will form the horse’s neck. Also, draw two small lines at the base of the neck for the chest. 3. **Sketch the Legs:** Use simple stick figures or straight lines to indicate the position and length of the legs. Pay attention to the angles and where the joints would be. Remember that horse legs are not straight; they have distinct bends.Building the Form: From Outline to Detail
Once your basic shapes are in place, you can start to connect them and refine the outline. Slowly, my scribbles began to resemble the majestic animals I adored. This is where the magic happens, as your simple framework starts to take on the recognizable form of a horse. 1. **Connect the Body Parts:** Smoothly connect the ovals of the body, creating the horse's back and belly. Remember those subtle curves from the muscles. 2. **Refine the Neck and Head:** Outline the nose with a long curved line, making it flow naturally from the head. Refine the neck, ensuring it has a graceful curve, not a stiff line. 3. **Shape the Legs:** Start to add volume to the stick-figure legs. Think of them as cylinders, tapering slightly towards the hooves. Pay close attention to the joints – the knee, hock, and fetlock – as these are crucial for conveying realism.Bringing Life: Mane, Tail, and Facial Features
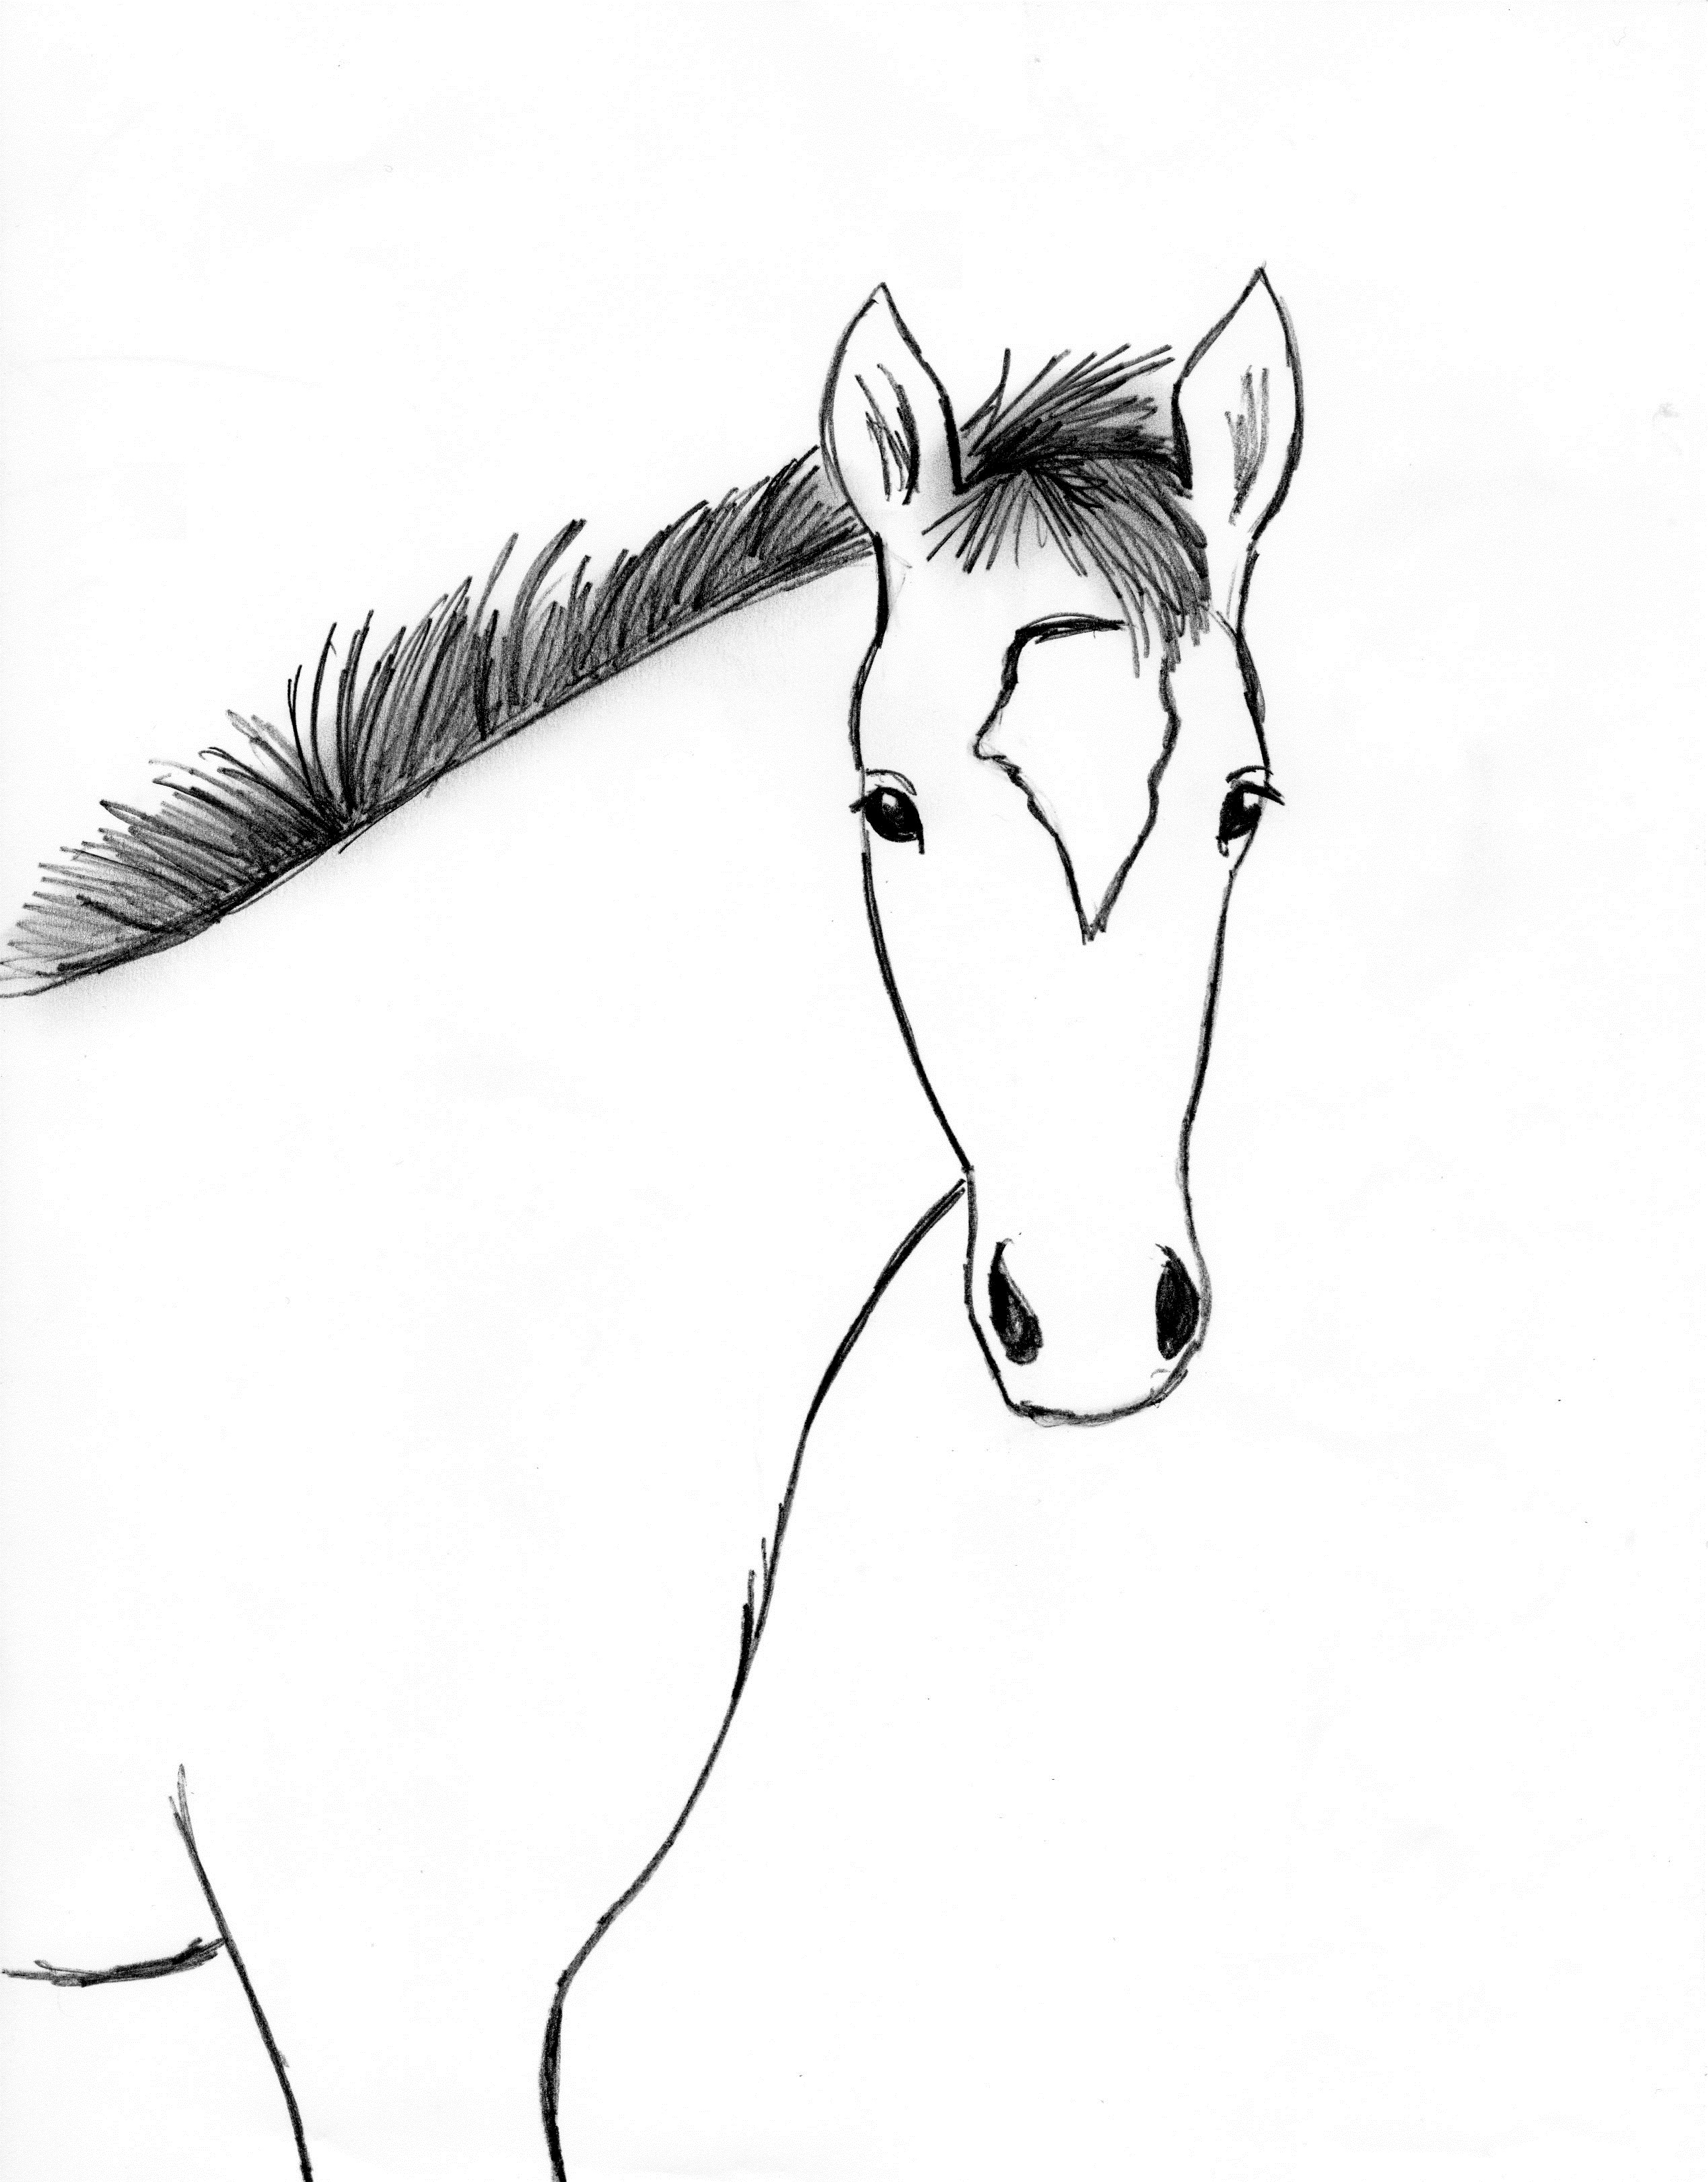
These are the details that truly bring your horse drawing to life, adding character and expression. 1. **The Eye:** Draw an irregular round shape for the eye, and shade a partial circle inside it for the pupil. Horses have large, expressive eyes, so give them prominence. 2. **Ears and Muzzle:** Add the ears, typically pointed and slightly curved. Refine the muzzle and nostrils, adding subtle indications of the mouth. 3. **Mane and Tail:** For the second step of your horse drawing, we will be adding in the horse’s mane. Start off by adding some jagged lines between the ears, letting them flow down the neck. The mane and tail are often flowing and dynamic, so use loose, confident strokes. Consider the direction of the wind or the horse's movement.Mastering Movement: Drawing Standing, Running, and Rearing Horses
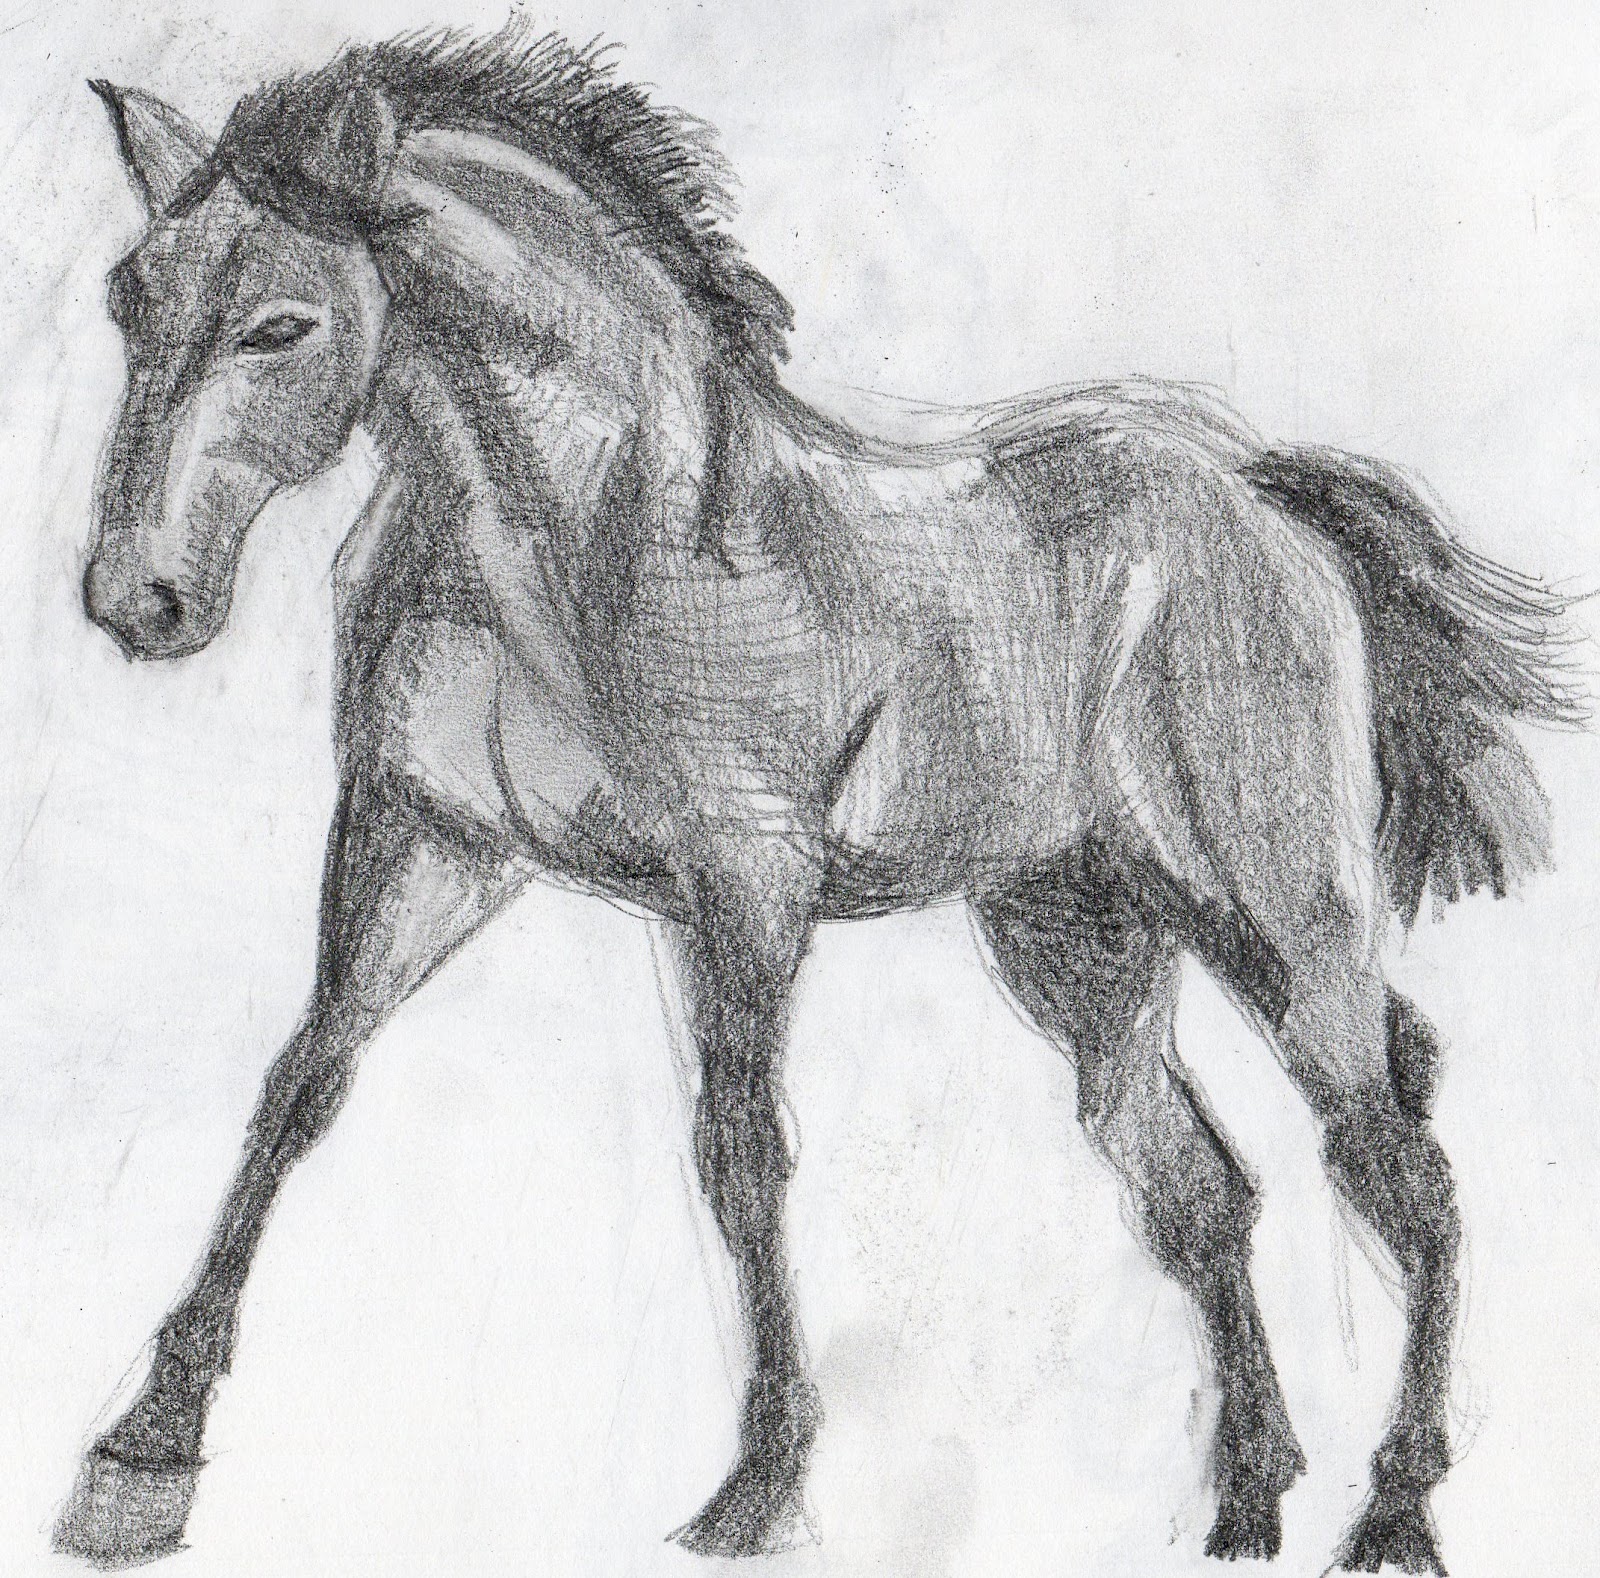
Once you're comfortable with the basic standing horse outline, you can explore dynamic poses. Learning how to draw a horse with simple shapes and curves in various states of motion is an exciting challenge. Follow the easy steps to sketch a standing, running, or rearing horse and improve your skills. * **Standing Horse:** Focus on balanced weight distribution. The legs will be relatively straight, supporting the body's weight evenly. * **Running Horse:** This requires understanding foreshortening and exaggeration. The legs will be extended, either in the air or pushing off the ground. The body will be stretched. Think about the "gallop" and how the limbs work in unison. Standing horse / running horse drawing line art is a great way to practice these different poses. * **Rearing Horse:** This is a dramatic pose. The hindquarters will be lowered, and the front legs will be lifted high. The horse's back will be arched, and its neck will be curved. This pose truly showcases the horse's power and balance. The key to drawing movement is to capture the "line of action" – an imaginary curve that runs through the horse's body, conveying its motion and energy. Don't be afraid to exaggerate slightly to enhance the sense of movement.Adding Depth: Shading and Texturing Your Horse Drawing
Shading is what transforms a flat outline into a three-dimensional form. It adds depth, volume, and realism to your horse drawing. 1. **Identify Light Source:** Before you start shading, determine where your light source is coming from. This will dictate where the highlights and shadows fall. 2. **Layering Graphite:** Use lighter pencil grades (HB, 2B) for initial layers, gradually building up darker tones with softer pencils (4B, 6B, 8B). Remember that the slightly rougher texture of your paper works good for pencil and seems to accept subsequent layers of graphite without burnishing, allowing for smooth transitions. 3. **Muscular Definition:** Use shading to emphasize the subtle curves from all those amazing muscles. Shadows will define the contours and give the horse a sense of power and solidity. 4. **Texture:** Horses have short, sleek coats. Use very fine, short strokes in the direction of the fur growth to suggest texture without making it look furry. For the mane and tail, use longer, flowing strokes to indicate individual strands. 5. **Ground Shadow:** Don't forget a cast shadow beneath the horse. This anchors the drawing to the ground and adds to the overall realism.A Glimpse into History: Horses in Art Through the Ages
Explore the history of horses in art and more horse drawing projects. From the prehistoric cave paintings of Lascaux to the equestrian sculptures of ancient Greece and Rome, and from the Renaissance masterpieces of Leonardo da Vinci to the dynamic works of Edgar Degas, horses have been a constant source of inspiration for artists. A brief history of horses in art reveals their symbolic significance – as companions, warriors, symbols of status, and representations of wild beauty. Studying how past masters rendered horses can provide invaluable insights into anatomy, movement, and composition. It’s a testament to the enduring appeal of these magnificent creatures that they continue to be celebrated in art across cultures and centuries.Beyond the Basics: Continuing Your Horse Drawing Journey
Learning how to draw a horse is a continuous journey of improvement. This how to draw a realistic horse lesson is the first in a three part series. After finishing this lesson, watch the second part to see how to turn this initial outline into a fully rendered piece. * **Practice Individual Parts:** If you find the tutorial to be too difficult, you can practice drawing individual parts of the horse to make it a little easier (only the head for example). Master the eye, the ear, the hoof, or a single leg before integrating them into a full body. * **Experiment with Styles:** While realism is a great foundation, don't shy away from exploring other styles. Try a pretty cartoon horse or pony drawing for beginners, or delve into more abstract interpretations. * **Observe Real Horses:** The best teacher is always nature itself. Spend time observing horses in person or through high-quality photographs. Pay attention to their posture, their expressions, and how their muscles move. * **Seek Feedback:** Share your work! Join online communities or local art groups. Constructive criticism is a powerful tool for growth. I regularly show this tutorial to people who ask me for help drawing horses, and the feedback often highlights minor problems that have been bothering me for years, which I then work to address.Today, kids who would like to learn how to draw a horse can get some help with a step by step tutorial. The resources available are vast, making it easier than ever to begin this rewarding artistic journey. Follow the simple steps and print out the guide to create your own horse drawing, and remember that every stroke brings you closer to mastering this captivating subject.
Conclusion
The journey of horse drawing, though initially daunting, is incredibly fulfilling. We've explored the fundamental steps, from simplifying complex anatomy into basic shapes to adding intricate details and mastering dynamic poses. By understanding the horse's unique structure, utilizing proper tools, and practicing diligently, you can transform your initial scribbles into majestic renditions of these beautiful animals. Remember, art is a process of continuous learning and refinement. So, pick up your pencil, embrace the challenge, and let your fascination with horses guide your hand. Don't be afraid to make mistakes; they are part of the learning curve. Share your progress, seek inspiration, and most importantly, enjoy the creative process. What kind of horse will you draw first? A standing horse, a running horse, or perhaps a powerful rearing horse? We'd love to see your creations and hear about your horse drawing journey in the comments below! Share this guide with fellow aspiring artists and let's inspire each other to bring more equine beauty to the world.- Remotely Access Raspberry Pi Remoteiot Download Free
- Viralkand Com
- Xxxxxx Is Equal To
- Xxxx Factor X X 1 X 4 4 X 1 Meaning Means
- Sophia Rain
Horse Drawing Step By Step | Art Starts
Britt's Graphics: Animal Drawing Practice: Horses

Drawing Art Horses ~ Horse Drawing
