Unlock Your Creativity: The Ultimate Guide To Making Stickers At Home
Table of Contents
- The Allure of Homemade Stickers: Why Make Your Own?
- Essential Tools and Materials for Sticker Making
- Method 1: No Printer, No Sticker Paper? No Problem!
- Method 2: Printing Your Way to Perfect Stickers
- Method 3: Unleashing the Power of Your Cutting Machine
- Beyond the Basics: Creative Variations and Troubleshooting
- Caring for Your Custom Creations: Tips for Longevity
- The Endless Possibilities: From Hobbies to Small Business
The Allure of Homemade Stickers: Why Make Your Own?
There's a special kind of satisfaction that comes from creating something with your own hands, and making custom stickers is no exception. While store-bought stickers are convenient, homemade ones offer unparalleled personalization and charm. Kids love stickers of all types, but homemade stickers are even better because they carry a piece of your unique creativity. The possibilities are truly endless when you have the power to design and print your own custom stickers at home. Whether you're making stickers for fun, for gifts, or for your small business, this craft allows you to perfectly express your mood, interests, or brand identity. You can create unique emoji stickers to engage your friends, letting them instantly understand how you feel, or design intricate planner stickers to organize your life. This creative activity doesn't necessarily require expensive tools like a cutting machine; with just a few basic supplies, you can design and craft unique stickers right from the comfort of your home. It’s a fantastic way to unleash your inner artist and bring your vision to life.Essential Tools and Materials for Sticker Making
Before you embark on your sticker-making journey, it’s helpful to gather your supplies. The specific materials you'll need will depend on the method you choose, but here's a general overview of common items: * **Design Tools:** * Paper and pencils/markers for hand-drawn designs. You can sketch desired sticker designs on construction paper, color them in with colored pencils, and add outlines and details with markers. * Computer with design software (e.g., Adobe Illustrator, Photoshop, Canva, or even simpler tools like Google Docs) for digital designs. * **Printing Supplies (if using a printer):** * A reliable printer (inkjet or laser, depending on sticker paper type). * Sticker paper or printable vinyl sheets. These come in various finishes (matte, glossy, clear) and can be waterproof. * Regular paper for test prints. * **Cutting Tools:** * Sharp scissors for manual cutting. * Craft knife and cutting mat for precision cuts. * A cutting machine (e.g., Cricut, Silhouette) for automated cutting. * **Adhesive/Laminating Materials (for no-printer methods or added durability):** * Clear packing tape. * Clear contact paper (self-adhesive laminating sheets). * Laminating pouches and a laminator (optional, for extra durability). * **Other Useful Items:** * A flat, clean work surface. * A ruler for straight cuts. * A bone folder or credit card to smooth out air bubbles. Understanding these basic components will help you choose the best method for how to make stickers that suit your resources and desired outcome.Method 1: No Printer, No Sticker Paper? No Problem!
One of the most appealing aspects of making stickers is that you don't always need fancy equipment. If you're wondering how to make stickers without a printer and without sticker paper, these methods are perfect for you. They are budget-friendly, great for kids, and surprisingly effective for creating unique, handmade decals.Crafting with Contact Paper and Scissors
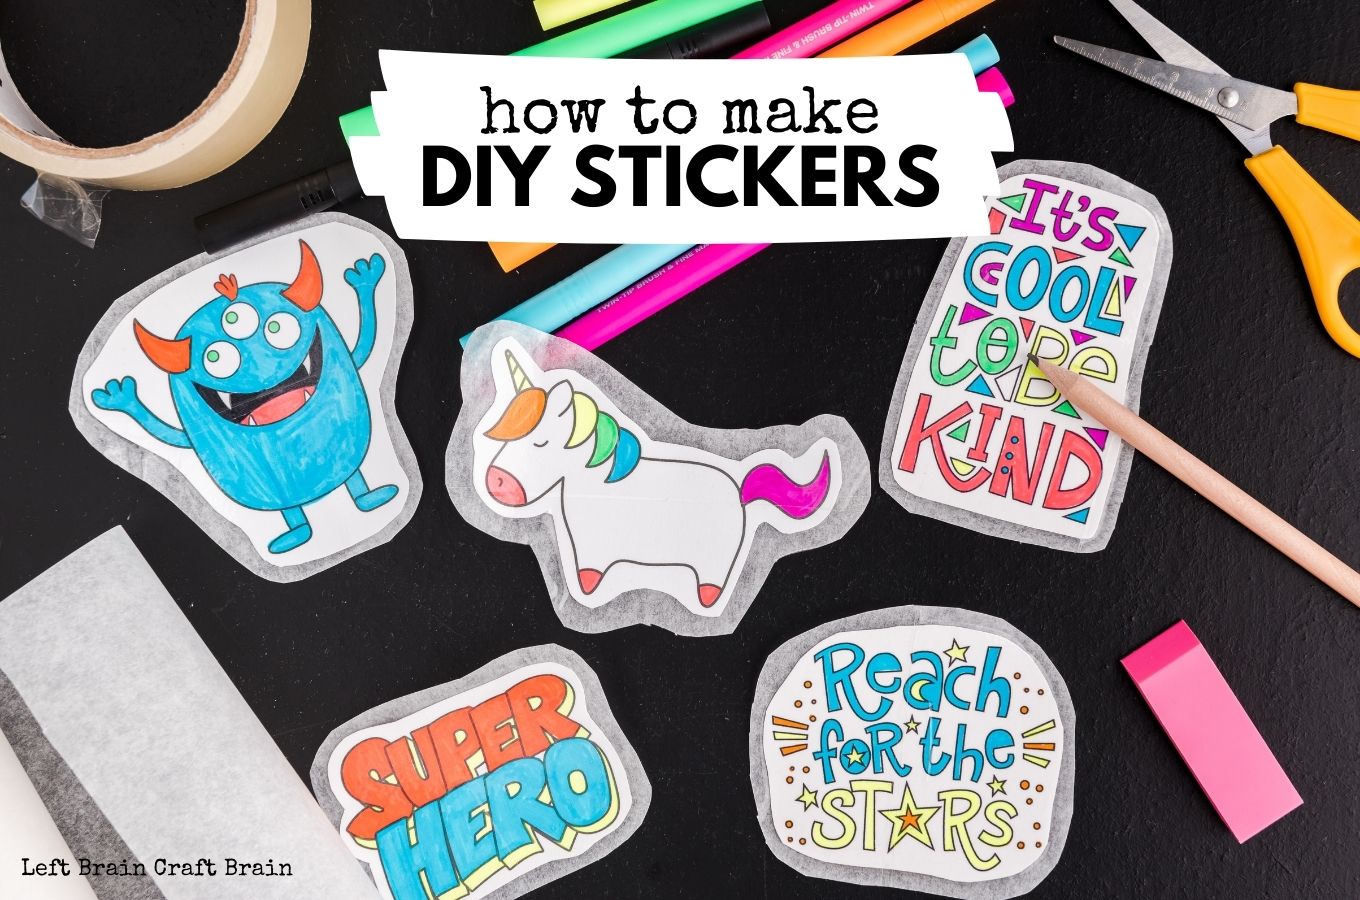
This method is incredibly simple and uses readily available materials. You can create your designs by hand, making it a truly personal project. **Materials Needed:** * Paper (regular printer paper, construction paper, or even magazine cutouts) * Colored pencils, markers, or crayons * Clear contact paper (often found in the kitchen or craft aisle) * Scissors * Optional: Sharpies for drawing directly on contact paper **Steps:** 1. **Design Your Sticker:** You have a few options here. * **Draw by Hand:** Sketch desired sticker designs on construction paper. Color in designs with colored pencils, and add outlines and details with markers. Be creative and experiment with different colors, shapes, and patterns to bring your vision to life. * **Use Existing Images:** Cut out pictures and words you like using a pair of scissors from magazines, newspapers, or printed images. * **Draw Directly:** Alternatively, you can draw your designs on the shiny (non-adhesive) side of contact paper using sharpies. This gives a unique, glossy finish. 2. **Prepare the Contact Paper:** Cut a piece of clear contact paper slightly larger than your design. Peel off the backing paper from one side of the contact paper. 3. **Place Your Design:** Carefully place your paper design onto the exposed adhesive side of the contact paper. If you drew directly on the contact paper, skip this step. 4. **Seal It:** Take another piece of contact paper, peel off its backing, and carefully lay it over your design, adhesive side down. This will seal your design between two layers of contact paper. 5. **Smooth Out Bubbles:** Using a credit card or your fingers, gently smooth out any air bubbles, working from the center outwards. A few bubbles are acceptable, but try to avoid getting too many, or else your stickers won’t look as nice. Smooth out air bubbles thoroughly. 6. **Cut Your Sticker:** Once sealed, cut out your sticker. Always leave a small border (about 1/8 to 1/4 inch) around your design when cutting for a clean finish and to ensure the edges are sealed. This border helps prevent the layers from separating. 7. **Peel and Stick:** Your homemade sticker is now ready to be peeled from its backing and stuck onto any surface!The Magic of Packing Tape Transfers
This method is fantastic for transferring printed images or drawings onto clear packing tape, creating a unique, transparent sticker. While we prefer to make small stickers that fit on the width of our packing tape, you can make slightly larger ones if desired by placing two pieces of tape next to each other. **Materials Needed:** * Printed images (from a laser printer work best, inkjet can be tricky but possible) or hand-drawn designs on paper. * Clear packing tape (wide tape is ideal). * A bowl of warm water. * Scissors. * A flat, smooth surface (like a credit card or spoon) for smoothing. **Steps:** 1. **Prepare Your Image:** Choose pictures or designs. When choosing pictures, think about the width of the packing tape. Cut out pictures and words you like using a pair of scissors. 2. **Apply Tape:** Carefully place a piece of clear packing tape over your chosen image, sticky side down. Ensure there are no air bubbles trapped underneath. Smooth out air bubbles thoroughly using a credit card or your fingers. 3. **Burnish:** Rub firmly over the entire surface of the tape with a credit card or your fingernail. This helps transfer the ink from the paper to the tape. 4. **Soak:** Submerge the taped image in a bowl of warm water for a few minutes (5-10 minutes is usually sufficient). The paper will become saturated. 5. **Rub Off Paper:** While still submerged or immediately after taking it out, gently rub the paper backing off the tape. The paper pulp will come away, leaving the ink image transferred onto the adhesive side of the tape. Be gentle to avoid rubbing off the image itself. 6. **Dry and Stick:** Once all the paper is removed, let the tape dry completely, sticky side up. The adhesive will reactivate as it dries. Once dry, your transparent sticker is ready to be applied! These stickers work best on a flat surface.Method 2: Printing Your Way to Perfect Stickers
For those who want more professional-looking results, especially for multiple stickers or intricate designs, using a printer and sticker paper is the way to go. This method offers excellent control over design, color, and finish.Designing Your Digital Stickers
The first step in making high-quality printed stickers is creating your design. This can be done using various software, from professional design suites to free online tools. **Software Options:** * **Professional Software:** Adobe Illustrator or Photoshop offer extensive tools for creating complex vector graphics and detailed raster images. * **User-Friendly Software:** Canva, PicMonkey, or even Google Docs can be used to design stickers. Google Docs, for example, allows you to import images and arrange them. * **Online Sticker Makers:** Some websites offer free online sticker makers where you can create and share unique designs, letting your friends instantly understand how you feel. Whatsapp sticker maker is an example of a tool for digital expression. **Design Process:** 1. **Conceptualize:** Be creative and experiment with different colors, shapes, and patterns to bring your vision to life. Think about where the sticker will be placed and its purpose. 2. **Create Your Design:** Using design software or templates, create your sticker designs. If you want to make multiple stickers of the same design, paste the design multiple times and arrange the copies in rows on your document. 3. **Save Your File:** Once you’ve finished your sticker design, save it to your computer as a .png file. This format supports transparency, which is crucial if your sticker has non-rectangular shapes. Then, open a new document in your image editing software and import your sticker design into the new document.Printing and Cutting for Professional Results
Once your design is ready, it's time to bring it to life on sticker paper. **Materials Needed:** * Your digital sticker designs. * Printer (inkjet or laser, compatible with your sticker paper). * Sticker paper or printable vinyl sheets (matte, glossy, clear, waterproof options available). * Scissors or a craft knife. **Steps:** 1. **Test Print:** Always do a test print on regular paper to ensure your designs are accurately aligned and the colors are what you expect. If you are printing pictures, make a test copy to get a little wet before you try to make a print sticker. This helps avoid wasting expensive sticker paper. 2. **Printer Settings:** Set the printer to the highest quality settings for vibrant colors and sharp images. No matter which method you plan on using, you'll first need to print the sticker file onto your sticker paper. To ensure proper sizing and cutting, make sure that you print at 100% scale. If you resize the stickers and try to cut using a cutting machine, the alignment will be off. 3. **Load Sticker Paper:** Load your sticker paper into the printer, ensuring it's oriented correctly so the design prints on the adhesive side. 4. **Print:** Print your designs onto the sticker paper or vinyl sheets. 5. **Cut:** Once satisfied with the test print, use the sticker paper and cut along the edges of your designs. You can use sharp scissors for a manual cut. For a cleaner, more precise look, always leave a small border (a white outline) around your design when cutting. This helps hide any slight imperfections in your cutting and gives the sticker a professional finish. 6. **Smooth Bubbles:** If applying a clear overlay (like another layer of sticker paper or packing tape for added protection), smooth out air bubbles thoroughly.Method 3: Unleashing the Power of Your Cutting Machine
For those with a Cricut machine or similar cutting devices (like Silhouette Cameo), making stickers becomes incredibly easy and precise. These machines can cut intricate designs with perfect accuracy, saving you time and effort, especially for bulk production. **Materials Needed:** * Your digital sticker designs. * Cricut machine (or similar). * Cricut Design Space software. * Printable sticker paper or printable vinyl sheets. * A cutting mat for your machine. **Steps:** 1. **Design in Software:** First, create your design in the Cricut Design Space (or your machine's equivalent software). This software allows you to import your .png designs, arrange them on a virtual canvas, and set up cut lines. Remember, if you resize the stickers and try to cut using a cutting machine, the alignment will be off, so ensure your design is at 100% scale for printing and cutting. 2. **Print Then Cut:** Most cutting machines have a "Print Then Cut" feature. This means your machine will print your design first, adding registration marks around the print. 3. **Load and Cut:** Then, load your printed sticker paper onto your cutting mat and into the machine. The machine's sensor will read the registration marks, ensuring it cuts precisely around your printed designs. 4. **Weed and Peel:** Once the cutting is complete, remove the excess sticker paper (called "weeding") around your designs. Your custom stickers are now ready to be peeled off the backing and used!Beyond the Basics: Creative Variations and Troubleshooting
The world of stickers is vast and exciting! Once you master the basics of how to make stickers, you can explore numerous variations and learn to troubleshoot common issues. **Creative Variations:** * **Puffy Stickers:** Achieve a raised, puffy effect by adding clear epoxy resin dots over your printed designs, or by using special puffy sticker foam. * **Waterproof Stickers:** For water bottle stickers or outdoor use, you may want to use a lighter paper combined with waterproof printable vinyl or laminate your stickers with a clear waterproof overlay. * **Planner Stickers:** These are typically smaller, functional stickers designed to fit into planners. You can make custom shapes for events, reminders, or decorative elements. * **Vinyl Decals:** Using printable vinyl, you can create durable decals suitable for cars, windows, or larger surfaces. * **Glitter or Holographic Stickers:** Print your designs on special glitter or holographic sticker paper for dazzling effects. * **Adhesive Corkboard:** For unique, thicker stickers, you can learn how to make stickers using adhesive corkboard as a base, adding a tactile dimension. **Troubleshooting Tips:** * **Air Bubbles:** When applying clear overlays or contact paper, smooth out air bubbles thoroughly using a credit card or a bone folder. Work slowly from the center outwards. A few bubbles are acceptable, but try to avoid getting too many, or else your stickers won’t look as nice. * **Fading Colors:** Ensure your printer settings are on the highest quality. For inkjet prints, consider using a clear sealant spray or laminating to protect against UV fading and moisture. * **Poor Adhesion:** Make sure the surface you're sticking to is clean, dry, and smooth. Different sticker papers have varying adhesive strengths; choose one appropriate for your intended use. * **Cutting Issues:** If manually cutting, always leave a small border when cutting for a clean finish. For cutting machines, ensure your print is at 100% scale and the registration marks are clear and unobstructed. Find tips on troubleshooting, variations, and care of your homemade stickers. From puffy stickers and planner stickers to waterproof stickers and vinyl decals, discover creative and fun projects to unleash your inner artist. Remember to experiment with different designs, paper types, and printer settings to find the perfect combination for your sticker projects.Caring for Your Custom Creations: Tips for Longevity
Once you've put in the effort to make your own stickers, you'll want them to last! Proper care can significantly extend the life of your homemade decals. * **Surface Preparation:** Always apply your stickers to a clean, dry, and smooth surface. Any dust, grease, or texture can prevent proper adhesion and lead to peeling. * **Smooth Application:** When applying, press firmly from the center outwards to eliminate air bubbles and ensure full contact with the surface. This helps prevent edges from lifting. * **Protection:** * For stickers that will be exposed to moisture (like water bottle stickers) or frequent handling, consider using waterproof sticker paper or applying a clear laminate layer over your printed designs. Clear packing tape can also serve as a simple laminate for smaller stickers. * A clear acrylic sealant spray can also add a layer of protection against moisture and UV rays, especially for inkjet prints. * **Cleaning:** If your stickers get dirty, gently wipe them with a damp cloth. Avoid harsh chemicals or abrasive cleaners, which can damage the ink or the sticker material. * **Storage:** If you're not using your stickers immediately, store them flat in a cool, dry place away from direct sunlight. This prevents them from curling, fading, or losing their stickiness.The Endless Possibilities: From Hobbies to Small Business
Making custom stickers is a fun and creative activity that doesn’t require expensive tools like a cutting machine. With printable vinyl and a pair of scissors, you can design and craft unique stickers right from the comfort of your home. This DIY tutorial provides 10 easy steps to seal, cut, and peel your stickers, empowering you to learn how to make your own stickers with various materials, techniques, and tools. Whether you're making stickers for fun, for gifts, or for your small business, the possibilities are endless when you have the power to design and print your own custom stickers at home. From creating personalized gifts for friends and family to launching your own Etsy shop, your sticker-making skills can open up a world of opportunities. Remember to experiment with different designs, paper types, and printer settings to find the perfect combination for your sticker projects. Embrace the process, learn from each attempt, and most importantly, have fun unleashing your creativity! Now that you know how to make stickers using various methods, what will you create first? Share your sticker-making journey in the comments below, or tell us your favorite DIY sticker hack!- Sone 436
- Aagmaaltech
- Jackerman
- Securely Connect Remote Iot Vpc Raspberry Pi Aws Download Free
- Ryma Bomba
Diy stickers

Easy Crafts To Sell, New Crafts, Diy And Crafts, Paper Crafts, Make

Diy Printable Stickers
